
Into The Hive Missions Guide: Tutorial to Extraction
Into The Hive missions explained: clear the tutorial, destroy every nest, handle brutes, and make it back to the pod alive. Get the full walkthrough now.
Jump to
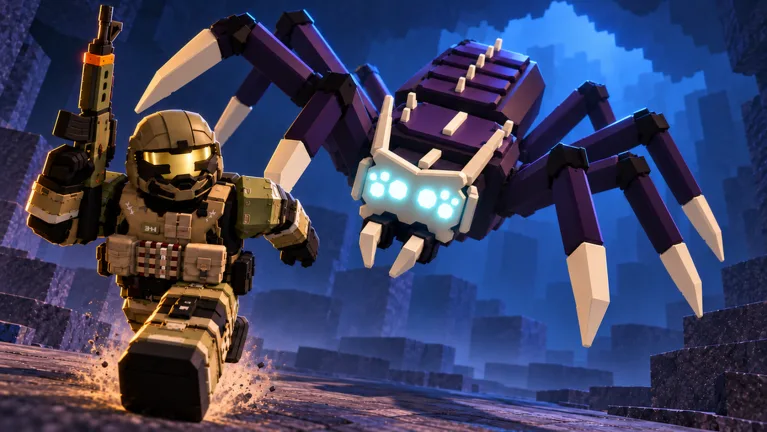
How Into The Hive Missions Work
Every run in this Roblox co-op shooter drops you into a cave full of bugs that want you dead. This walkthrough covers Into The Hive missions from the scripted first drop to a full squad run, so you know what to shoot, what to build, and when to sprint for the pod.
Into The Hive launched on October 21, 2026, from the To The Earth's Core group. It supports 1–4 players per squad. Every expedition follows the same basic loop:
- Drop into a randomly generated cave system.
- Fight through insect swarms and complete the mission objective. That usually means destroying alien nests and protecting mining equipment.
- Get the all clear, then run back to extraction (the pod) before the swarm overwhelms you.
- Return to base, spend your earnings, tweak your loadout with Augments, and go again.
The terrain is destructible. You can dig through walls to open new routes, and the bugs can break in from almost anywhere too. You can also switch between first-person and third-person views.
| Mission phase | Objective | Key tools |
|---|---|---|
| Tutorial (first mission) | Learn mining, shooting, sentries, nest destruction | Starter rifle (AR 01), sentry/guard tower |
| Main objective | Destroy every nest, defend mining equipment | Primary weapon, sentries, grenades |
| All clear | Survive the final wave | Sentries, team cover |
| Extraction | Reach the pod and get inside | Digging tool to cut shortcuts |
The First Mission: Tutorial Walkthrough
You need to finish the opening mission before you can redeem codes in the lobby. Your guide is Rusty, and a blue line on the ground always points to your next objective. If you lose track of where to go, look down and find the line.
- Follow the blue line to your first marker and talk to Rusty.
- Mine the marked rock. Repeat at the next blue-line stop when told to mine again.
- Follow Rusty deeper into the cave until you're told to equip your weapon.
- Shoot the first insect wave. They come in numbers, so keep firing until the area is clear.
- Reload when prompted. Then deal with a second wave that spawns on your left. Watch your ammo here, because it's easy to run dry mid-wave.
- Place the sentry (guard tower) at the marked spot. Once it's up, it starts thinning the swarm for you.
- Follow Rusty again, placing more towers as the tutorial asks.
- Destroy the nest. Nests have an HP bar. Set a tower next to it and keep shooting until it breaks, then do the same to the next one.
- Survive the ambush. The cave starts shaking, a cutscene plays, and Rusty gets pounced on by a beast. You finish the rest alone.
- Head to the new marker (the blue box), place the item it asks for, and walk into the pod to extract.
Gearing Up at Base Between Missions
Once you're back in the lobby, you'll use two menus:
- Shop: the code entry box sits at the bottom of the window. Type HIVE1 (the last character is the number one) and hit Redeem for 1 Equipment Token.
- Equipment: this is where you spend Equipment Tokens and Cash on new guns, throwables, and sentries, plus upgrades for gear you already own.
Expect to finish the tutorial with around 3,500 Cash. Here are a few early price points:
| Item | Cost | Notes |
|---|---|---|
| AR 01 | Starter | 60 damage; can be upgraded |
| AR 02 | 5,000 | Out of reach after the tutorial |
| Cannon | 3,000 | Much bigger damage than the starter rifle |
If you want to buy something right away, take the cannon. It hits much harder than the starter rifle, and at 3,000 it fits within the Cash you carry out of the tutorial. Save toward the AR 02 or grenades next. Grenades flatten brutes almost instantly.
Back at base you can also customize equipment with Augments before each expedition. If your squad already has a strong damage dealer, put your Equipment Tokens into sentries. Turrets help defend your squad against insect swarms.
Running a Full Mission With Your Squad
After the tutorial, you'll pick missions from the lobby, starting on normal clearings. Here's how to get through one:
- Split up your lanes. In a two-player run, one of you covers the upper paths while the other takes the lower ones. Spiders pour out of holes and walls, so stacking on the same spot leaves your flank wide open.
- Find the nests. They're the big, blobby growths. A single run can have several, so count down as you clear them, and don't assume the first one was the last.
- Kill brutes from behind. The brute spider carries a shield on its front, and its rear is the weak spot. Circle around it, shoot its legs off, or throw a grenade.
- Place sentries close. You can't place a sentry too far from where you're standing. Walk to the spot first, then deploy.
- Expect a final wave. After the last nest falls, another swarm hits while you wait for the all clear. Let your sentries do the work and stay grouped.
- Dig your way out. On the run back to the pod, carve straight through walls if the main route is crawling with bugs. Get everyone inside the pod to complete the mission.
Keep an eye out for hidden secondary caves. They spawn rarely, but you can sometimes spot one through a hole in the floor. Dropping in can leave you stuck, so check with your squad before you jump.
Higher difficulties are available. Hard mode is a big step up, so rank up and upgrade your gear on normal before you try it.
Mission Rewards and Optional Boosts
Missions pay out Cash, Scrap, and Rank XP. Weapons and equipment also earn Mastery XP as you use them. Three game passes affect how missions play out:
- VIP (199 Robux): +50% Cash from missions, +50% Scrap, +25% Rank XP, and a VIP tag.
- Mastery Booster (199 Robux): double Mastery XP on every weapon and piece of equipment, and equipment upgrades cost half the Cash and ore.
- Phoenix Armor (799 Robux): once per mission, you get back up after going down. Nearby bugs are knocked back and a shield dome covers you for 5 seconds.
The New Mission Type and Upcoming Content
The NEW Mission Type update ran from November 7 to November 14, 2026. It added a fresh mission type and gave sizeable buffs to a range of weapons and gear. If an older weapon felt weak before, try it again. The full patch notes are in-game.
Next up is New Weapons and More!, scheduled for November 14–21, 2026. It brings a Firing Range for testing loadouts, a batch of secondary weapons, and new utility tools and throwables. The developer is also working on Layer 5, which might be included with this update. For announcements and new codes, check the official Discord and the To The Earth's Core Roblox group, or jump straight into Into The Hive on Roblox.
FAQ
Can you play Into The Hive missions solo?
Yes. Every mission supports 1 to 4 players, so you can go in alone or bring up to three friends.
Why can't I redeem a code yet?
New players need to finish the first mission before codes can be redeemed. Once you reach the lobby, open the Shop and enter the code in the box at the bottom.
What's the fastest way to kill a brute spider?
Hit it from behind, because its front is shielded. A grenade or shots to its legs also take it down quickly.
Continue with
 Into The Hive Tips and Tricks: Beginner Guide for RobloxInto The Hive tips and tricks for new Roblox players: what to buy first, how to beat shielded spiders, Augment basics, and the HIVE1 code for a free token.
More in Guide
Into The Hive Beginner Guide: Best Early Upgrades and Tips
This Into The Hive beginner guide covers the tutorial, smart early spending, augments, armor, and combat tips to survive the swarm and reach extraction.

Into The Hive Equipment Tokens: How to Get and Spend Them
Get Into The Hive equipment tokens with code HIVE1, learn where to redeem them, and discover which guns, throwables, and sentries they unlock in the lobby.
Into The Hive How to Level Up: Rank, Mastery & Gear Tips
Learn Into The Hive how to level up the smart way: raise Rank XP, push weapon Mastery to unlock augment slots, and spend Cash where it counts. Start now.
Into The Hive How to Play With Friends: Co-Op Squad Guide
Into The Hive co-op guide: how to play with friends in squads of up to four, cover each other with turrets, build a smart loadout, and redeem code HIVE1.
Join the community
Official channels for news, updates and player help: